In this tutorial I will tell you guys how can we creat a new Gmail or Google accout. Once you can creat account. The other produts of Google account will creat automatically created. For Google +, Blogger etc. This account is used to store mails or other effective documents. With the help of this account you can send or received electronic mail one place to other place. This is a free service of Google. This service provides 15GB space for storage. Anyone can used this service on tablet, laptop, desktop or mobile.
Creating Gmail/ Google Account
Anyway guys now we can start our lacture.
- First of all we can open our browser for example Google Chrome, Mozilla firefox, Opera etc.
- Type this address www.gmail.com and press enter.
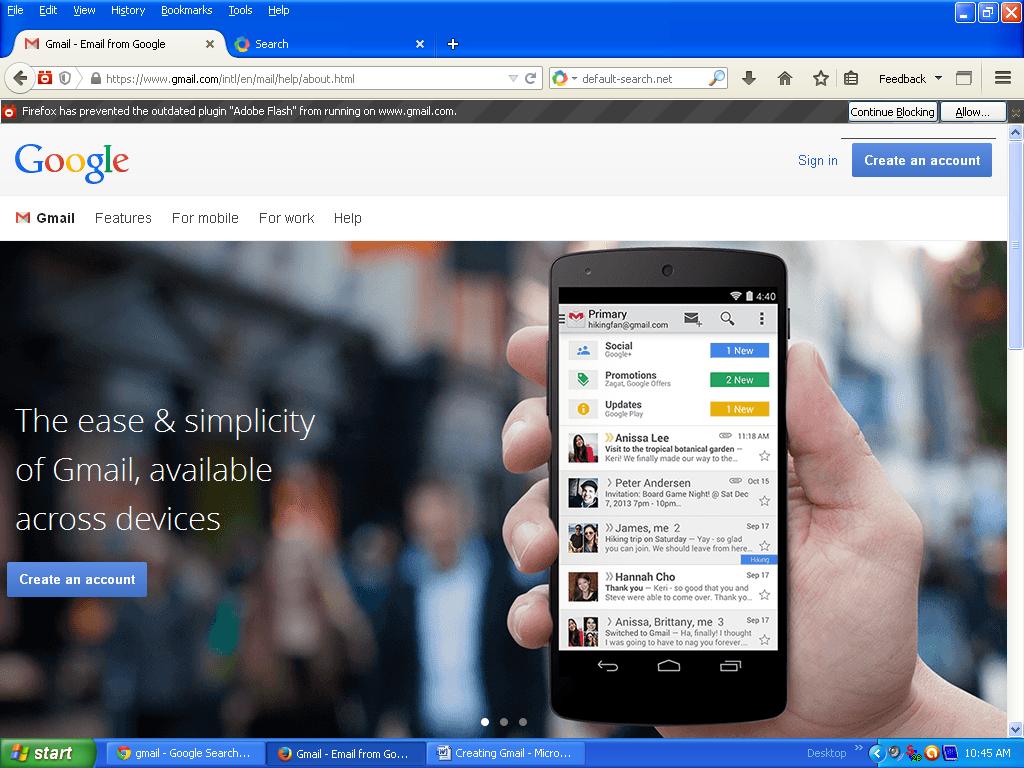
- The offical site of Gmail is oped now. A picture is given as under.
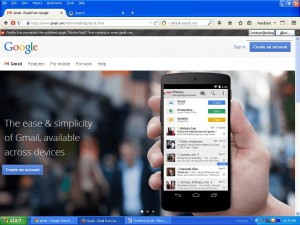
- On the top right hand side click
 this button.
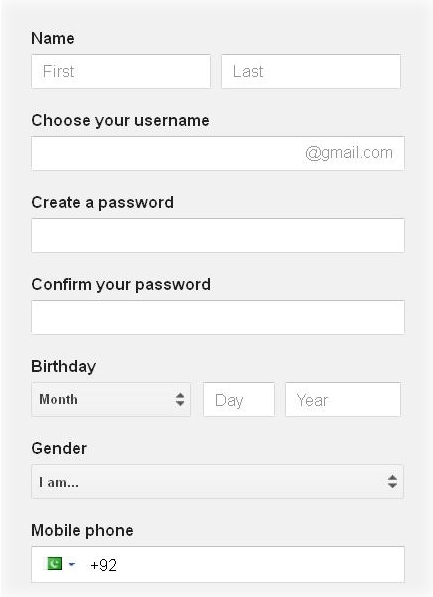
 - A new page is opened. This page contained on some information. We can say this page is a registration form. Now we can fill it.


- In the NAME box put you first and last name. For example Muhammad Habib.
- In the Choose your username box deside your user name. For example habibkhan9585.
- In the Confirm your password box put you password.
- Next option is about you date of birth. In this box put your date of birth. For example June 01 1990.
- In the Gender box put your gander status. For example male.
- In the mobile phone box put you mobile number. For example 3346701354
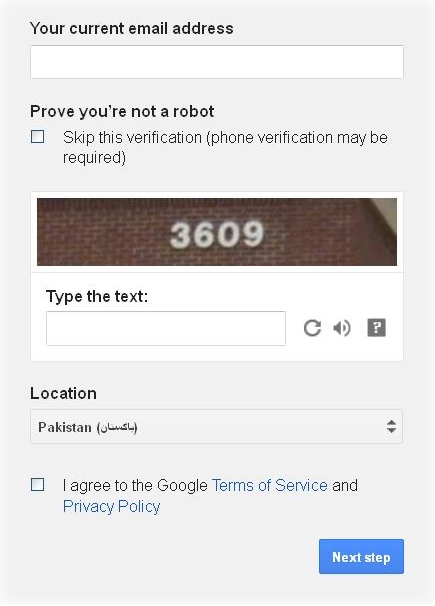
- In the your current email address box put any other email address like family member or friends. This option is used for security purpose, or recovery. It is optional you can remain it blank.
- The next option is for verification purpose. (1) with phone number (2) with text. This is actually used for robot to disallow robot to creat an account. robot can not read the images. For example we put the 3609.
- The next check box is used for Agreement. That we can accept the terms and condition of the company. Check the box and click the Next button for the further process, So for more information you can read the terms and condition.
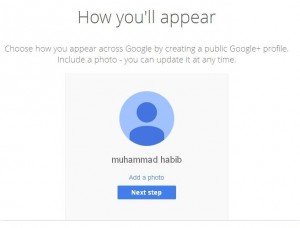
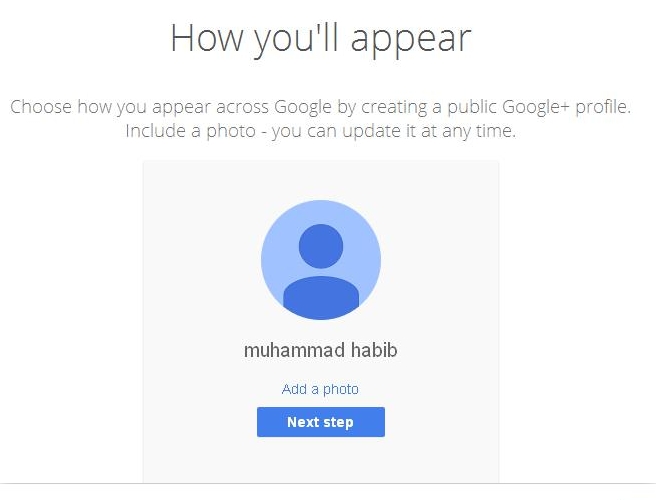
- Next option is used for Add a picture. If you did not want to add a picture this time you can click the Next Step button. For the next process.
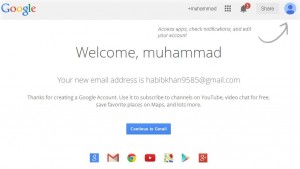
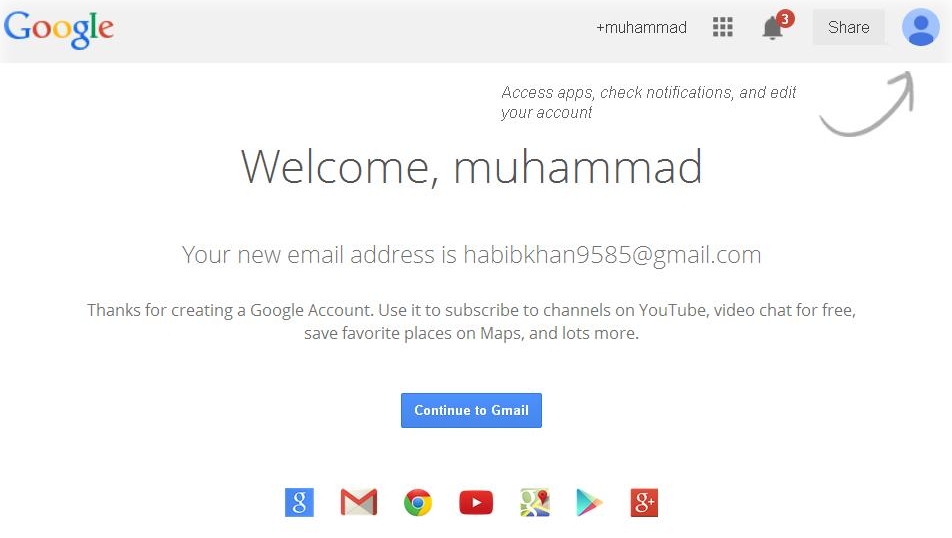
17. This page is show that your Gmail account is completed and ready for used. You can click the button![]() to enter you Gmail account.
to enter you Gmail account.
I hope you will enjoy for this post. Do not forget on a comment for this informative post. Remember me in your prayers.
Good Bye by admin ……Pakskills